
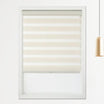
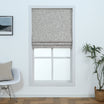

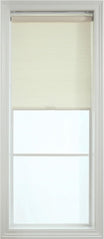
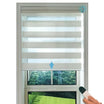
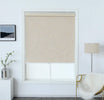

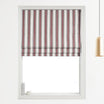
Installation instruction for Shades
Step 1
Before Installing Your Shade, Make Sure All Parts Listed Below Are Present. If Any Parts Missing Or Damaged Please Do Not Assemble, Install, Or Operate


Step 2: Gather Additional Tools Required
The Following Tools Are Not Included , But Will Need To Complete Your Installation.


Step 3: Begin Installation
Measure & Mark Location Of Shade And Brackets


Outside Mount
Note That The Shade May Be Installed Either Inside Or Outside The Window Frame.
Tip: Make Sure Mounting Brackets And/Or Mounting Surface Are Level, Otherwise Your Shade Could Telescope During The Lifting Operation.
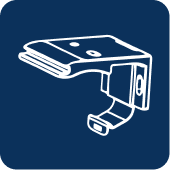
Step 4: Drill Hole & Screw In Brackets


Step 5: Mount shade in the brackets


Side View Hang back of headrail channel onto the back of the clip. Rotate headrail forward and up Clips will click when secure.
Step 6: Assembling the operation handle

Locate handle in the center of bottom rail.

Operate the shade with standard lift.